How to Wash Your Car Without Scratching the Paint
May 18, 2026 · Joel Bryan
TL;DR: Use two buckets with grit guards, microfiber wash mitts, and a top-down washing order to avoid dragging contaminants across your paint. Never use dish soap, bath towels, or automatic car washes with brushes. Dry with clean microfiber towels or a filtered blower.
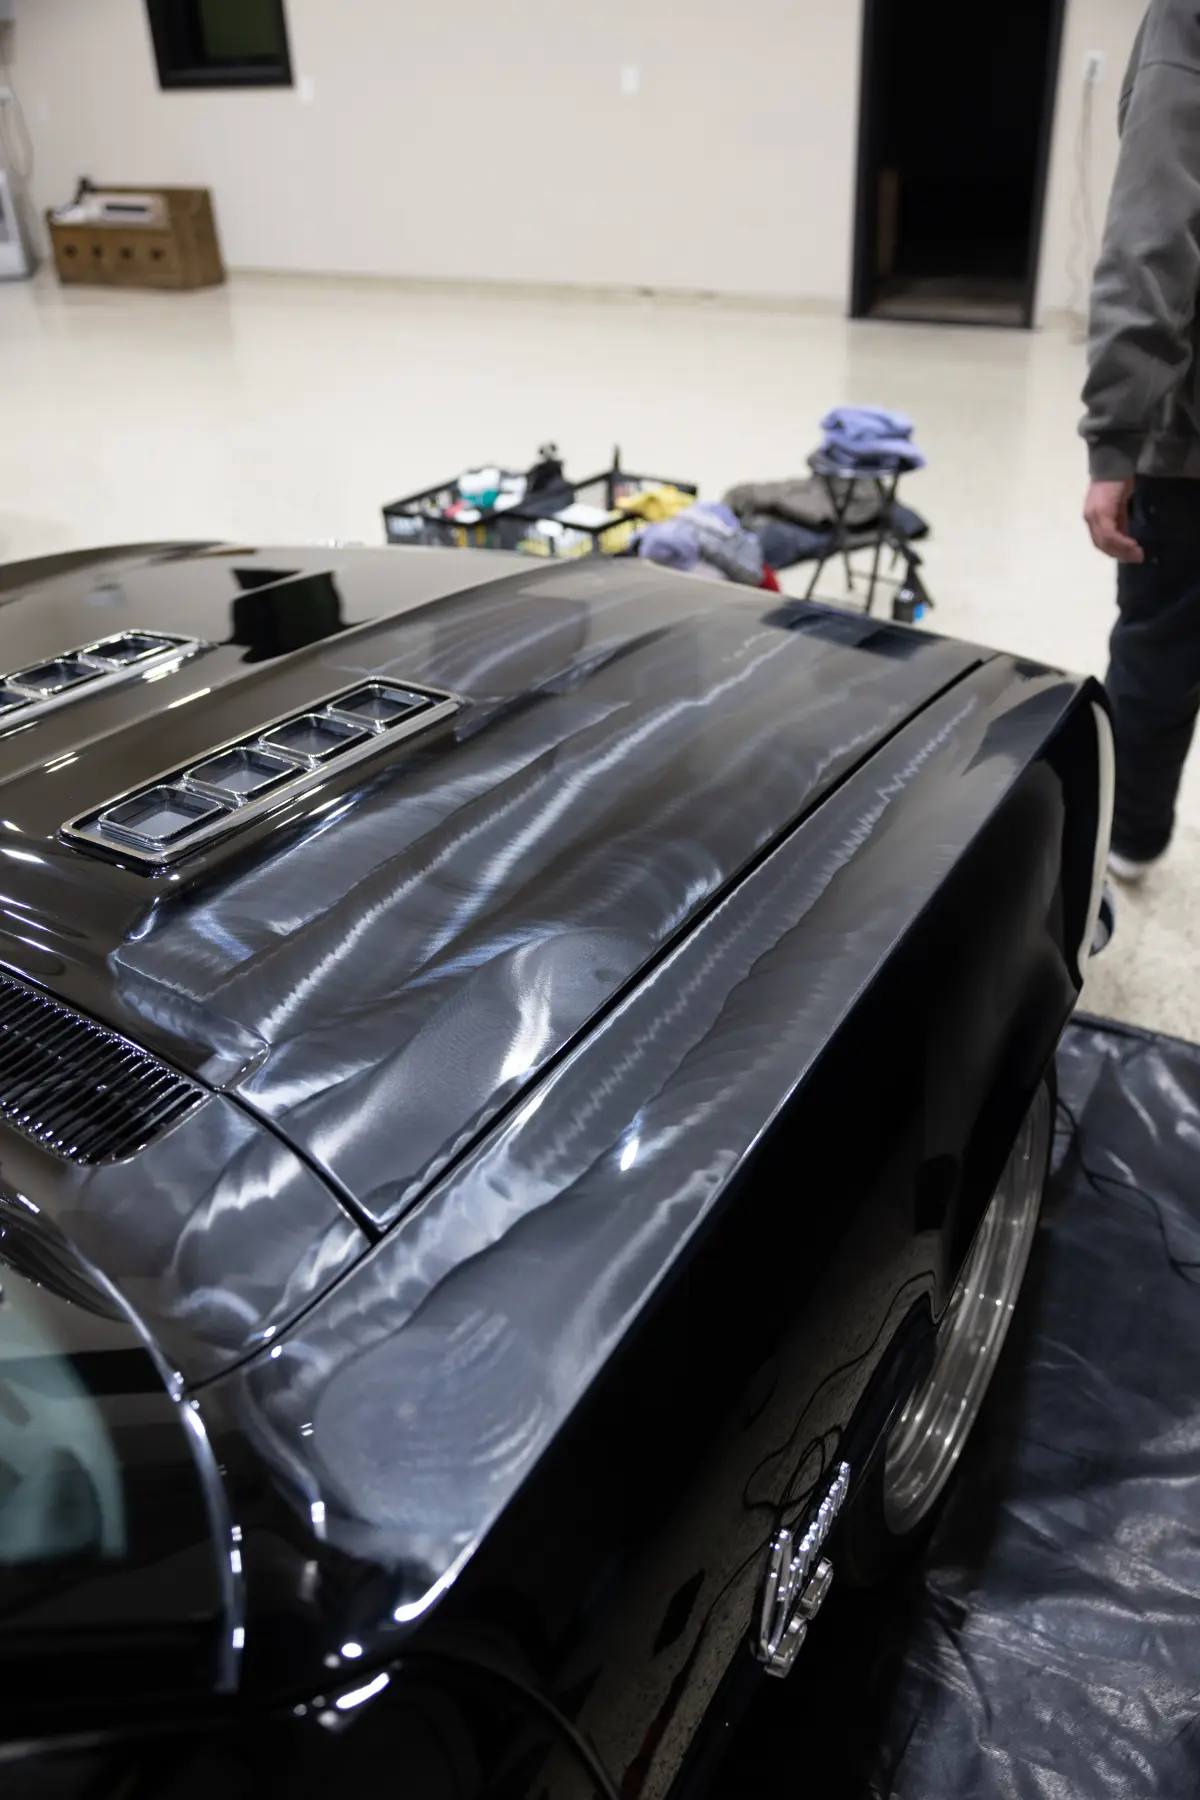
Most paint damage on daily-driven vehicles does not come from rocks, parking lot dings, or hail. It comes from washing. Improper wash technique creates the swirl marks and fine scratches that make paint look dull and hazy in direct sunlight. The good news is that safe washing is not complicated once you understand the basics.
Why Automatic Car Washes Scratch Your Paint
Tunnel car washes use rotating brushes, cloth strips, or foam pads that make physical contact with every vehicle that passes through. Those contact surfaces collect dirt, sand, and grit from every vehicle ahead of you. That debris gets dragged across your paint at high speed.
Even "soft touch" car washes cause damage over time. The cloth strips may feel soft, but they are loaded with abrasive particles from the last hundred vehicles that went through. After a year of weekly tunnel washes, your paint will have visible swirl marks, especially on darker colors where scratches show more easily.
Touchless car washes are better but not perfect. They avoid physical contact, but they compensate with highly acidic or alkaline chemicals that can strip existing protection and degrade clear coat over time. They also cannot remove bonded contaminants that require physical agitation.
The Two-Bucket Wash Method
The two-bucket method is the foundation of scratch-free washing. It is simple, inexpensive, and dramatically reduces the risk of paint damage.
Bucket one is your wash bucket. Fill it with clean water and a pH-neutral car wash shampoo. Never use dish soap. Dish soap strips wax, sealant, and ceramic coatings, and it is far too aggressive for automotive clear coat.
Bucket two is your rinse bucket. Fill it with clean water only. This is where you rinse your wash mitt after every panel before dipping it back into the soapy water.
Both buckets need grit guards at the bottom. A grit guard is a raised plastic grate that sits a few inches off the bottom of the bucket. When you plunge your mitt into the rinse bucket and agitate it against the grit guard, dirt particles fall below the grate and stay trapped at the bottom instead of getting picked back up by your mitt.
The process works like this. Dip your mitt in the wash bucket, wash one panel, rinse the mitt in the rinse bucket against the grit guard, then dip back into the wash bucket for the next panel. You are always putting a clean mitt on the paint.
Choosing the Right Wash Mitt and Towels
Your wash mitt matters more than you might think. A proper microfiber wash mitt has deep, plush fibers that lift dirt away from the paint surface and trap it within the mitt. This keeps abrasive particles from being ground against the paint.
Never use sponges. A sponge is flat, and dirt particles have nowhere to go except between the sponge and the paint. Every wipe pushes grit directly across the surface.
For drying, use clean, high-quality microfiber drying towels with a GSM (grams per square meter) of at least 400. Thicker, plusher towels absorb more water and are less likely to drag across the surface. Waffle-weave microfiber towels are excellent for drying because their texture creates channels that pull water away from the paint.
Never use bath towels, chamois, or old t-shirts. These materials are abrasive on automotive clear coat and will scratch the surface.
The Correct Washing Order
Always wash from the top down. The roof, hood, trunk, and upper panels are generally the cleanest areas of the vehicle. The lower panels, rocker panels, and wheels are the dirtiest and most contaminated.
If you start at the bottom and work your way up, you load your mitt with the heaviest grit first and then drag it across cleaner panels higher on the vehicle. Top-down washing ensures the dirtiest areas get washed last with a mitt that you can rinse more aggressively.
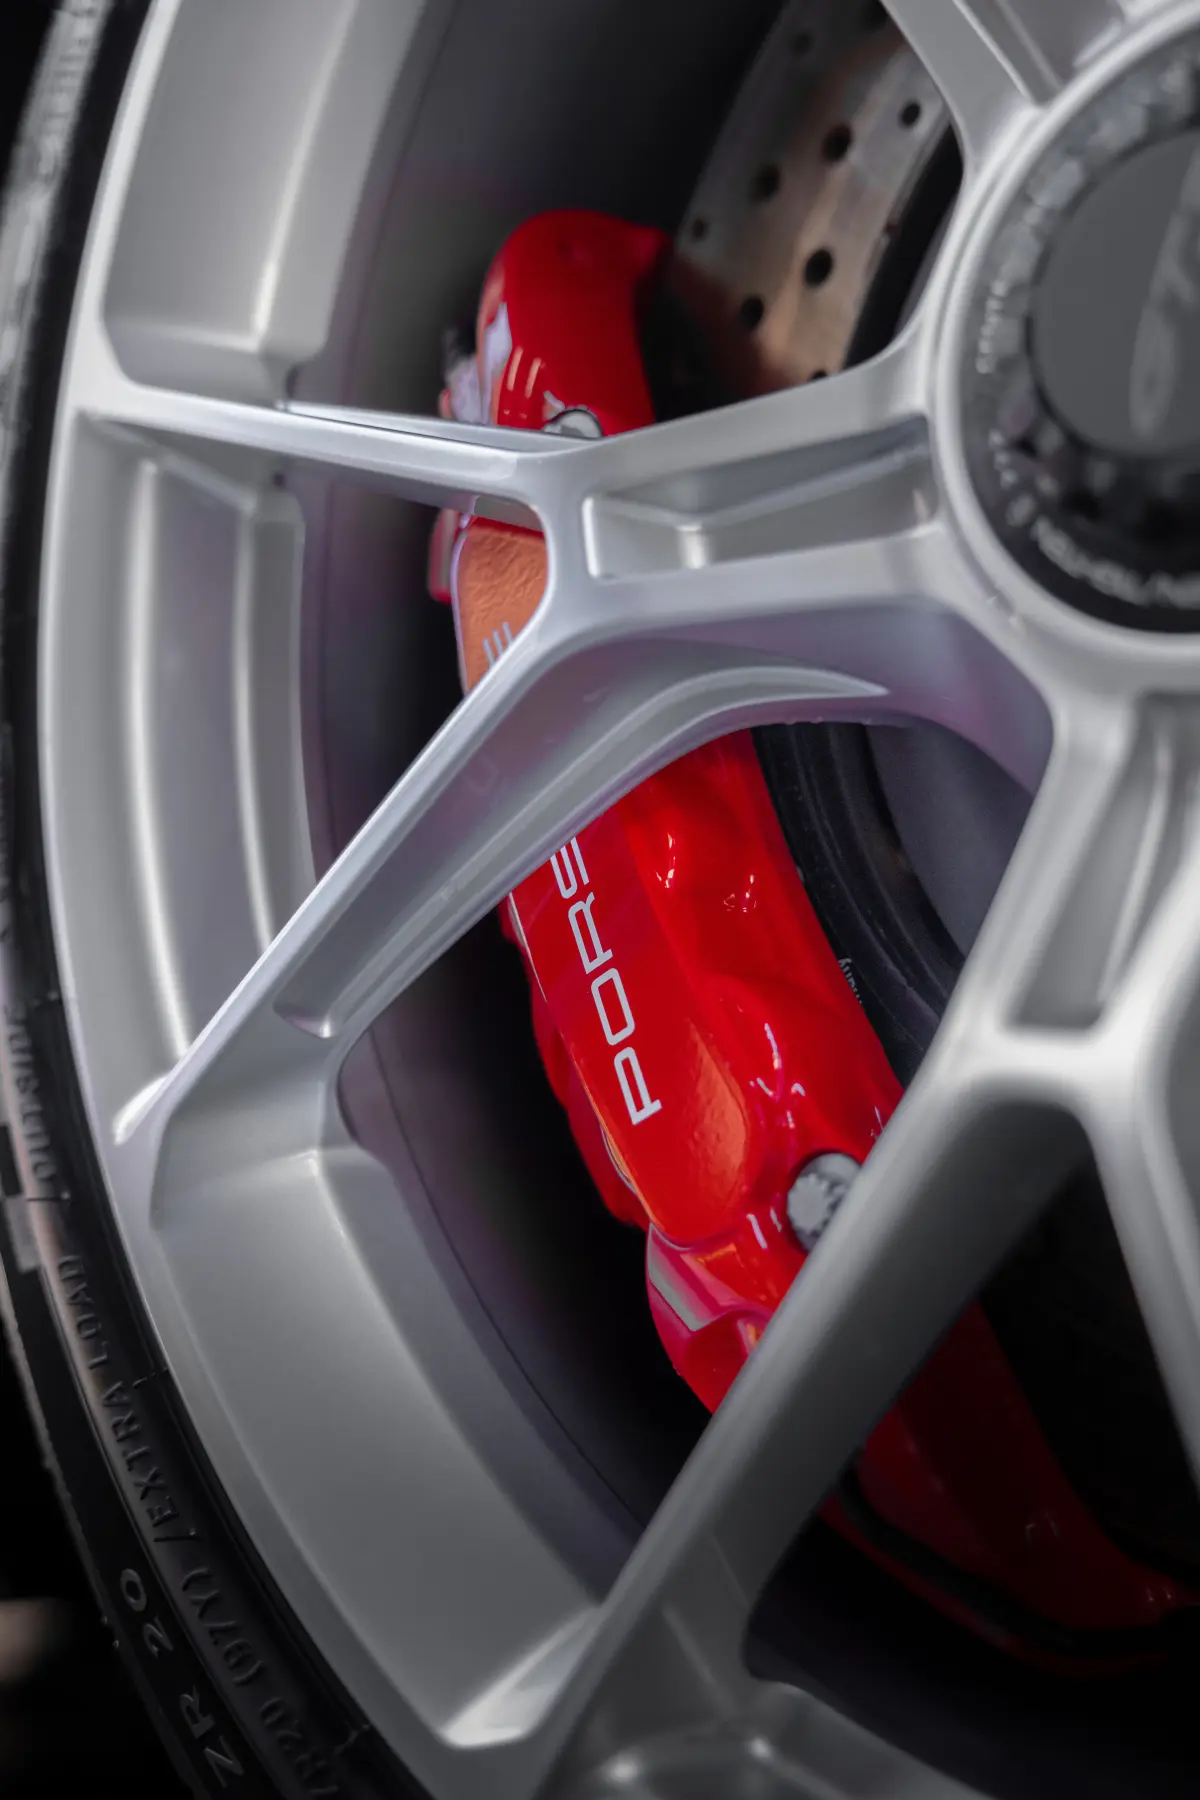
Wheels should be done first, before you touch the paint, using a separate set of brushes and mitts dedicated to wheels only. Brake dust is highly abrasive and contains metallic particles. You never want wheel brushes touching your paint.
Pre-Rinse and Pre-Soak
Before your mitt ever touches the paint, rinse the entire vehicle with a strong stream of water to remove as much loose dirt as possible. A pressure washer at 1,200 to 1,500 PSI with a 40-degree nozzle is ideal. If you do not have a pressure washer, a strong garden hose nozzle works.
For vehicles with heavy dirt or mud (common after North Idaho backroad driving and off-road trips), consider a pre-soak with a foam cannon or pump sprayer. A thick layer of snow foam or pre-wash solution sits on the surface for two to three minutes and loosens bonded dirt so the rinse removes more contamination before you start the contact wash.
This pre-rinse step alone prevents a significant amount of scratching. The less dirt on the paint when your mitt makes contact, the safer the wash.
Drying Without Damage
Drying is where a lot of people undo their careful washing. Rubbing a towel across wet paint with pressure is a recipe for scratches, especially if any contamination remains on the surface.
The safest drying method is a filtered forced-air blower. These blow water off the surface without any physical contact. They are especially useful for clearing water from panel gaps, mirrors, and emblems where towels cannot reach.
If you are towel drying, use a patting or blotting technique rather than dragging the towel across the surface. Lay the microfiber drying towel flat on a wet panel, press it gently to absorb the water, then lift and move to the next section. This minimizes friction and reduces the chance of dragging any remaining particles across the paint.
Use a spray detailer or drying aid as lubricant. Spraying a light mist of detail spray on the surface before drying adds lubrication between the towel and the paint, reducing friction.
When Washing Is Not Enough
Even with perfect technique, washing only removes loose and lightly bonded contamination. Over time, industrial fallout, rail dust, tree sap residue, and mineral deposits bond to the clear coat and cannot be removed with shampoo and a mitt.
If your paint feels rough or gritty after washing (run your fingers lightly across a clean, wet panel), those are bonded contaminants that need clay bar treatment or a professional exterior detail to address. Continuing to wash over bonded contaminants is like washing your dishes without removing the baked-on food first.
For vehicles driven regularly in North Idaho, we recommend a professional detail every three to four months to handle what home washing cannot remove.
Frequently Asked Questions
Can I use dish soap to wash my car?
No. Dish soap is formulated to strip grease and oils, which means it will strip your wax, sealant, or ceramic coating. It is also harsher on clear coat than pH-neutral automotive shampoos. Use a dedicated car wash soap every time.
How often should I wash my car?
Every one to two weeks is a good baseline for daily drivers. During spring pollen season and winter road salt exposure in North Idaho, weekly washing is better. The longer contaminants sit on your paint, the more likely they are to bond and cause damage.
What if my car already has swirl marks from bad washes?
Swirl marks are scratches in the clear coat that require machine polishing to remove. A paint enhancement service levels the clear coat to remove those scratches and restore a smooth, glossy finish. Once corrected, following proper wash technique prevents them from coming back.
Call us at (208) 215-7667 or request a quote to get started.
Joel Bryan
Owner, Bryan Car Care